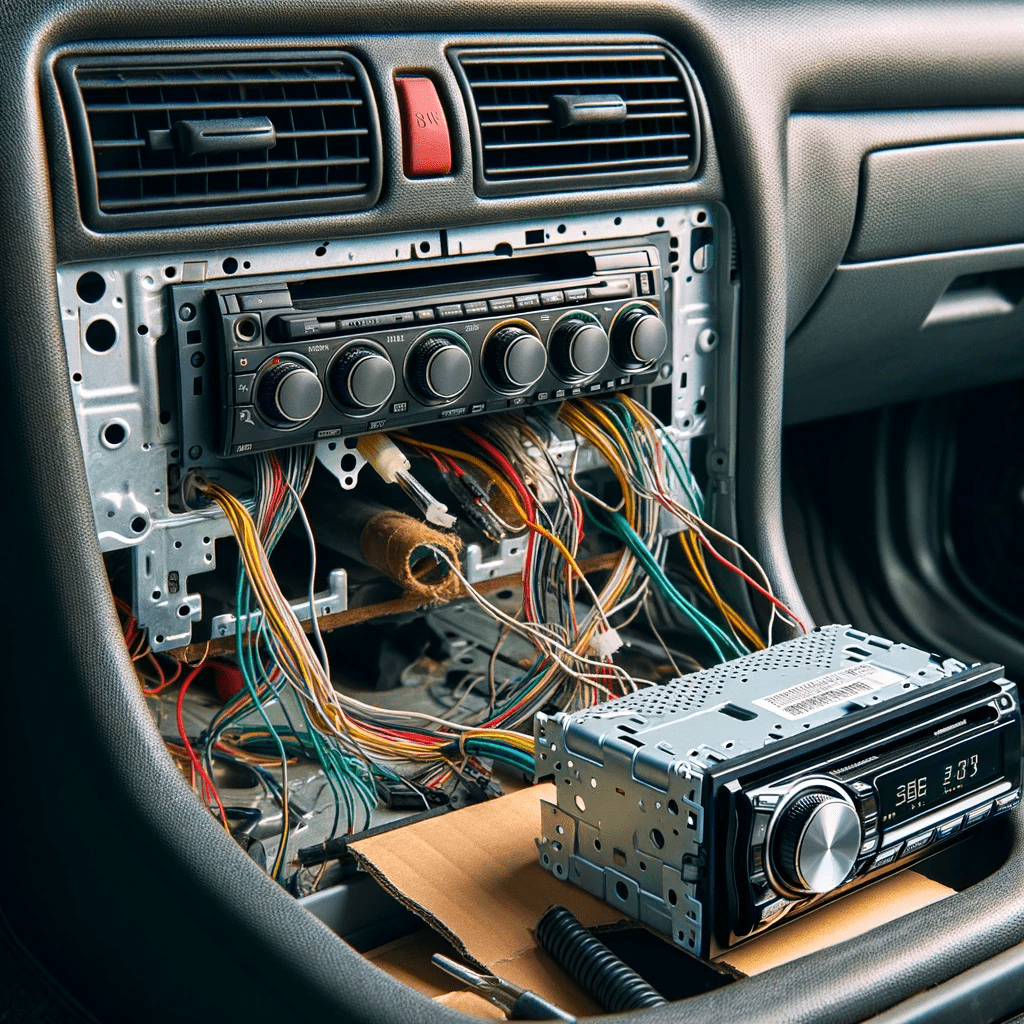
Are you tired of listening to the same old radio stations while driving? Do you want to upgrade your car’s audio system without breaking the bank? If so, installing a new car stereo system is a great option. With a few tools and some basic knowledge, you can easily install a new car stereo system and enjoy high-quality music on your daily commute.
Understanding the Basics of Car Stereo Systems
A car stereo system consists of several components, including the head unit, speakers, amplifiers, and wiring. The head unit is the control center, where you can adjust volume, change songs, and access various audio sources. The speakers are responsible for producing the sound, while the amplifiers enhance the audio quality and power. Wiring connects all these components, allowing them to work together seamlessly.
When choosing a new car stereo system, it is important to consider the following factors:
- Compatibility: Make sure the head unit and speakers you choose are compatible with your car’s make and model.
- Features: Head units come with a variety of features, such as CD players, Bluetooth connectivity, and built-in GPS navigation. Choose a head unit with the features that are important to you.
- Budget: Car stereo systems can range in price from a few hundred dollars to several thousand dollars. Set a budget before you start shopping so you don’t overspend.
Necessary Tools and Materials for Installation
To install a car stereo system, you will need the following tools and materials:
- A compatible head unit
- A wiring harness and mounting kit that is specific to your car make and model
- A screwdriver
- Wire cutters
- Wire strippers
- A crimping tool
- A panel removal tool
- Electrical tape
- Cable ties
- A voltage meter
Step-by-Step Guide to Installing Your Car Stereo System

- Disconnect the battery. Before starting the installation, disconnect the negative terminal of your car battery to ensure safety and prevent any electrical mishaps.
- Remove the old stereo system. Use a panel removal tool to carefully remove the trim around your old stereo system. Unscrew the mounting screws and gently pull out the old stereo unit.
- Connect the wiring harness. Connect the wiring harness from your new car stereo to the wiring harness of your car. Match the colors of the wires and use wire connectors to secure the connections.
- Mount the new stereo unit. Use the mounting kit that is specific to your car’s make and model to securely install the new stereo unit into the dashboard.
- Connect the speakers. Connect the speaker wires from your car to the speaker outputs on the new stereo unit. Ensure that the polarity is correct for each speaker wire.
- Test the system. Reconnect the car battery and turn on the new stereo system to test it out. Check if all the speakers are working and make any necessary adjustments to the sound settings.
- Secure the wiring and finish the installation. Use cable ties and electrical tape to secure the wiring and prevent any rattling or loose connections. Replace the trim around the stereo unit and ensure everything is securely in place.
Safety Tips During and After Installation
- Always disconnect the negative terminal of your car battery before starting any work.
- Handle the wiring and electrical components with care, avoiding any sharp objects or rough handling.
- Take your time and double-check all connections to ensure they are secure.
- Test the system before hitting the road to catch any potential issues or loose connections.
- Secure all wiring and connections using cable ties and electrical tape to prevent any rattling or loose wires while driving.
Troubleshooting Common Installation Problems
- Stereo not turning on: Check all connections to ensure they are secure. Replace any blown fuses.
- Distorted or poor sound quality: Check wiring connections and speaker placement.
- Poor radio reception: Ensure the aerial is securely connected and properly grounded.
Maintaining Your Newly Installed Car Stereo System
- Regularly clean the exterior of your stereo unit.
- Check the wiring connections periodically to ensure they are secure.
- Be mindful of extreme temperatures.
- Listen to your system at appropriate volume levels.
Final Note
With this guide, you’re not just ready but raring to upgrade your car’s audio. Knowledge, tools, and a sprinkle of enthusiasm are all you need. Prioritize safety, follow the steps, and soon, you’ll be cruising with impeccable sound. So, wave goodbye to repetitive radio and embrace the rhythm of the road. Drive on and tune in!
